Your Cart is Empty
Get started with the Caraway essentials!
Free Shipping On Orders $90+
Free Returns
30-Day Trial
Home & Kitchen with Caraway
Once you get a hold of a cake pan that you like, your kitchen is transformed. We want to be able to enjoy these products for as long as possible. The secret to doing that isn’t much of a secret at all. Proper care and maintenance can prolong the life of every essential in our lives.
This, however, can include multiple steps. One critical step is to prepare your bakeware properly before diving into the baking process.
Read on to learn how to prepare a cake pan with three easy steps.

Prepping your bakeware is extremely important to ensure that it lasts a long time and never gets damaged. Not only that, but proper prep work can also make or break how your recipe comes out.
One of the biggest culprits of destroyed cakes is sticking. When the ingredients are in the oven, they are naturally going to expand and stick to the vessel that is holding them. This becomes a major problem when trying to remove the cake from the pan.
In these cases, you’ll have to figure out how to loosen up all sides of the cake to unmold it from the pan. Even if you do end up loosening the sides up enough to pop it out, the excess handling of the cake fresh from the oven is its own risk. A cake that is still hot and fragile can crumble and lose its shape and structure if it isn’t handled properly.
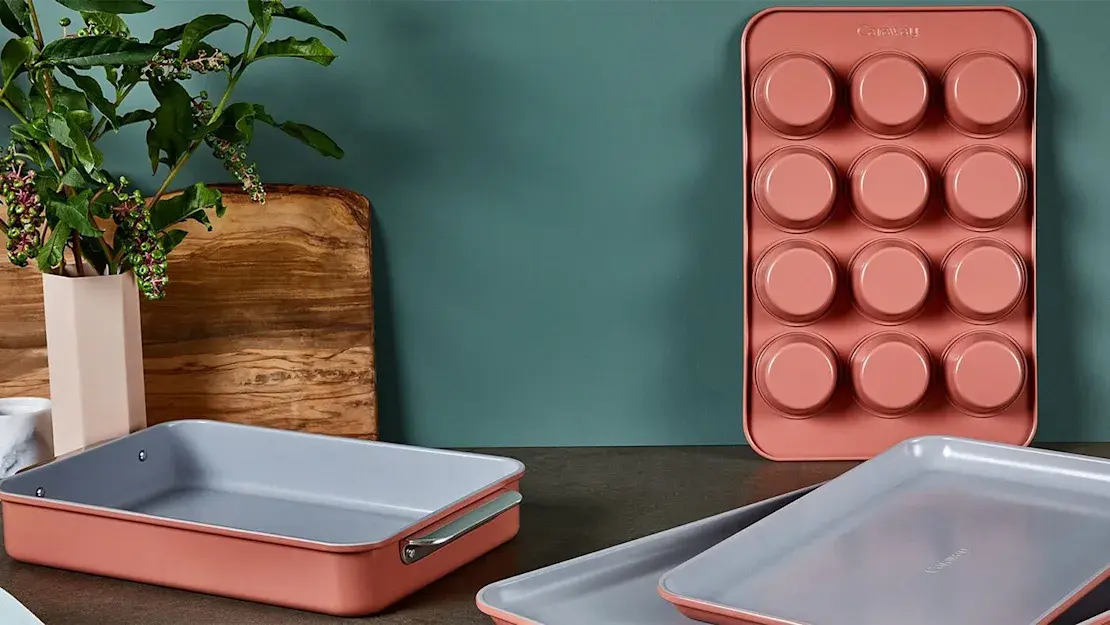
Preparing your cake pan is the second step to preventing all of this misfortune from happening. The first, however, is to buy a cake pan that has qualities that can also aid in this prevention. In other words, consider a non-stick cake pan. More specifically, we’d recommend one of our own from our Complete Bakeware Set.
Our set comes with a variety of different cake pan size options, including a 9x13” Rectangular Pan, a 9” Square Pan, and a 9” Circle Pan. Regardless of which one you decide to choose, they are all made out of ceramic.
Ceramic is superior to traditional non-stick pans. Ceramic provides a naturally slick surface free of toxic metals as well as PTFE, PFOA, and PFAS that are found in other non-stick pans. Not only does that ensure that you are using 100% non-toxic bakeware, but you’ll also be proactively creating a better surface for your cake to bake in.
The ceramic ensures even heat distribution free of any cold spots, which means that you’ll have a fully cooked cake. And with the slick surface, you won’t have to depend so heavily on the preparation steps to keep the cake from sticking and crumbling.

Aside from getting a ceramic non-stick cake pan, the best solution to prevent all of these issues like sticking and crumbling is to prepare your cake pan. With the right measures , your cake is sure to make it through and come out looking beautiful.
Here, we highlight three easy steps for preparing a cake pan:
The most common way of creating a slick surface that prevents sticking is by greasing the pan prior to pouring the ingredients in. There are several different options available for doing this.
Some people prefer using butter, while others prefer oil. While you could just use a stick of butter or a bottle of oil that you have in your kitchen, you could also use a spray version of those. A spray can help you control how much you are putting on the pan itself. If you’re trying to figure out whether to use oil or butter, check the recipe first, as some recipes do call for one over the other.
Keep in mind that ceramic bakeware needs far less butter or oil than other materials. Since the ceramic creates a natural, non-stick surface, the oil or butter is just an additional barrier between the ingredients and the pan. This serves as an extra precaution to prevent sticking. And let’s not forget the added bonus that comes with using less oil or butter: a healthier cake.
One of the most trusty methods in preparing your cake pan is to line it with parchment paper. This can play a major role in ensuring that your cake doesn’t get stuck to the pan and slides right out after it’s baked.
For this method, you can buy round parchment paper that can fit right into your pan without it needing to be reshaped. If you don’t have easy access to those, though, you can make them in your kitchen. All you have to do is flip your cake pan over and trace the outside in the parchment paper. Then, you can cut it to the correct size and place it into the pan for use.
This step is so simple but can do wonders in making sure that your cake comes out all in one piece at the end.
If the grease-only and parchment paper methods don't seem to work on their own, combining all of them and adding some flour into the mix might just do the trick. For this, it would be best to use butter rather than oil, as it mixes better with flour to form the barrier that we’re looking for. When you’re ready to prepare your pan, start by greasing it with butter.
It’s usually best to use the liner of the butter that you used to make your cake for this step. The liner typically has a good amount of residue left over to create a thin layer on the pan without overcoating it. Alternatively, using a paper towel to spread some room temperature butter would work just as well.
After your pan is properly coated with butter, place the parchment paper inside the pan and add an extra layer of butter on top. Then, sprinkle some flour into the pan and shake the pan while rotating it. This ensures a complete and even coating. Any excess flour that didn’t mix with the butter can be removed from the pan with a simple tapping motion.
With these three methods used in combination with one another, there’s no way your cake would be susceptible to sticking to the pan.
All of these steps can help ensure a smooth and easy process of removing your cake from the pan. However, you do have to be careful when unmolding it from the vessel it is baked in. A cake that’s fresh out of the oven is very fragile and can break quite easily if not handled properly.
Once your cake is taken out of the oven, we’d recommend letting it sit inside the pan for about 10 to 15 minutes before handling it. From there, take a knife and slide it between the sides of the cake and the pan to loosen any parts that seem stuck.
Once it’s all loosened up and ready for removal, flip the cake upside down and place it somewhere where it can cool. We’d recommend utilizing our 18x13” Cooling Rack for this step. And just like that, the cake is removed and removed and ready to be decorated.
Removing a cake from its pan may seem like a stressful and impossible task, but it’s actually very simple. All it takes is a bit of preparation with just a few simple steps, and then you’re good to go. With Caraway, this process can be a piece of cake.
The One Step You Shouldn’t Skip Before Frosting a Cake | Kitchn
Do I Really Need to Grease, Flour, or Line My Cake Pans Before Baking? | Kitchn
How to Grease a Pan: Tips and Best Methods | The Spruce Eats
Get started with the Caraway essentials!
Free Shipping On Orders $90+
Free Returns
30-Day Trial